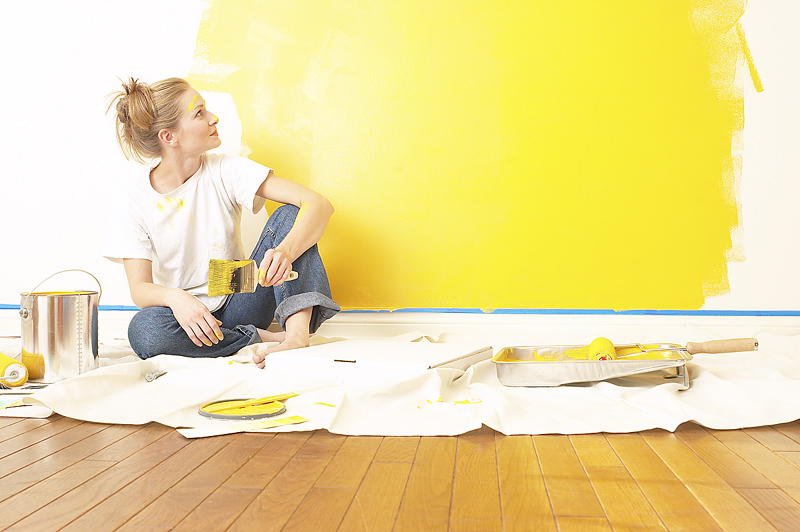
12 Tips For Painting Your New Home
Painting Your New Home is one of the fastest, affordable ways for you to totally change a new home’s atmosphere.
But here are a several tips before you commit to painting your new home:
You should purchase a small amount of paint in their color of choice, then get small cans in one and two shades lighter as well. Most paints dry darker than the hue they present when wet
and a stripe test (a few strokes on the actual wall of each shade, side by side; allow to dry for several hours) will help you see what the final results will be before you bring out the roller brush and go to town.
Your prep is the key to a good finish.
You should fill any holes with wall putty and let dry. Sand down these and any other uneven spots. Then wipe the walls with a damp paper towel to remove dust. Walls should be fully dry before painting your new home.
You should use painter’s tape to protect trim, ceiling, floor edges, and anything else we don’t want painted.
You should apply a coat of primer to the walls if they have water or smoke stains, or if covering a dark color with a light one.
You should encase the brush or roller in plastic wrap, taking care that the plastic adheres to the surface of the leftover paint – this helps keep it from drying.
Store your should tools flat in the refrigerator (cold also slows drying).
You should not empty or wash the paint tray. Just slide it horizontally into a large plastic bag, and pat the plastic down so it evenly touches the surface of the paint to stop a “skin” from forming (if using a grocery bag, put the logo on the underside of the tray). Slide into the fridge.
Next day, you should take everything out, wait 30 minutes for brushes and paint to warm to room temperature. Carefully unwrap, and pick up where you left off.
To prevent contaminating your food, empty a shelf and reserve that space specifically for your painting supplies. If they’re still awry, stick all tools into a clean, large bag and knot it shut before sticking it into the ref.
To strip an old coat of paint off a wooden surface, you should use a semipaste, methylene chloride – based paint stripper. It’s noxious stuff, so you’ll need chemical-resistant gloves, goggles, and a vapor respirator. Set up the project outdoors in a shady spot. If you are working on a wall, throw open windows and doors and keep a fan on for added ventilation.
You should pour some stripper into a metal coffee can, and apply it thickly to wood with a natural-bristle brush. It should start bubbling within 10 to 30 minutes. When paint looks gelatinous, scrape it with a 1.5-to 3-inch plastic scraper. Wipe off the blade onto newspapers as you go; let paper dry before sticking it in a garbage bag that you can knot closed. Inform your garbage collector of its contents on garbage day.
Use steel wool or a toothbrush on stubborn spots. To finish, wash with a rag dipped in odorless mineral spirits. Rinse.
We hope these tips help you painting your new home. If you have other tips that will be useful in painting a new home, please share them by leaving a comment to the article


Leave a Reply