How To You Lay A Gravel Driveway?
A gravel driveway is always going to be a lot less expensive than a paved driveway, unless of course you make a handful of relatively common mistakes and end up having to redo your gravel driveways from top to bottom.
Thankfully though, again unlike paved driveways, you’re going to be to lay a gravel driveway all on your own – without any expensive tools or hardware – so long as you use the right driveway material
the right “driveway frame”, and avoid a couple of really common mistakes that can devastate your driveway faster than you ever will have thought possible.
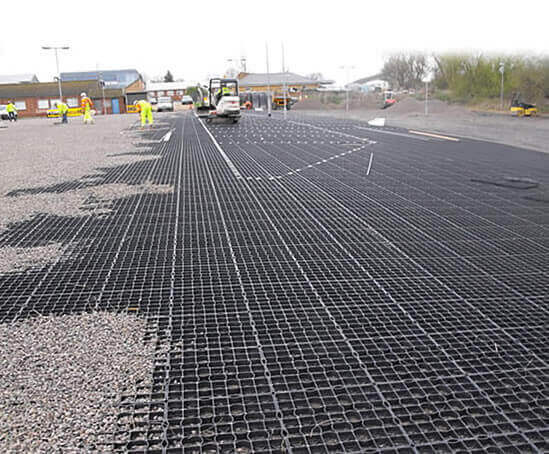
We recommend using ground reinforcement grids (made out of 100% recycled materials) to act as the frame and foundation of your gravel driveways. These kinds of materials provide you with a rock solid and stable surface to build your driveway off of, but they also help you contain your gravel driveway in a much more effective way than simply spreading gravel about and hoping that rainwater and other drainage doesn’t take your driveway from you later down the line.
The best gravel driveway paving grids interlock with one another, are easy to install, and provide you with a semi permanent solution that you can add to as necessary later down the line. These materials are inexpensive, simple to use, and self-levelling – providing you with the ultimate head start when it comes time to lay your driveway down.
As far as avoiding major mistakes goes, here are some tips and tricks that you’re going to want to really think about when you go through the process of actually building out your gravel driveway!
Site work preparation is EVERYTHING
The most important thing you can do when you’re getting ready to build a gravel driveway or multiple gravel driveways is to take care of site preparation, really making sure the ground is free of debris, free of soft soil, and free of other materials that may create a spongy surface when it is wet.
Spongy surfaces will absolutely wreak havoc on any of the driveway materials you use later down the line just as soon as it rains. Driving vehicles over spongy surfaces will cause even more devastation, to the point where you have to completely redo your gravel driveway all over again almost immediately after building at the first time!
Remove topsoil, strip the ground right down to the hard underneath surface, and then build a dependable bed using plastic grid materials to get you the rest of the way. Then and only then start to fill with gravel.
Make the drainage for your gravel driveway a priority
Gravel driveways that haven’t been levelled out for drainage are always going to end up washing away because of Mother Nature, something that you have to get out ahead of just as soon as humanly possible – and something you have to consider when it comes time to plan the gravel driveway you are building.
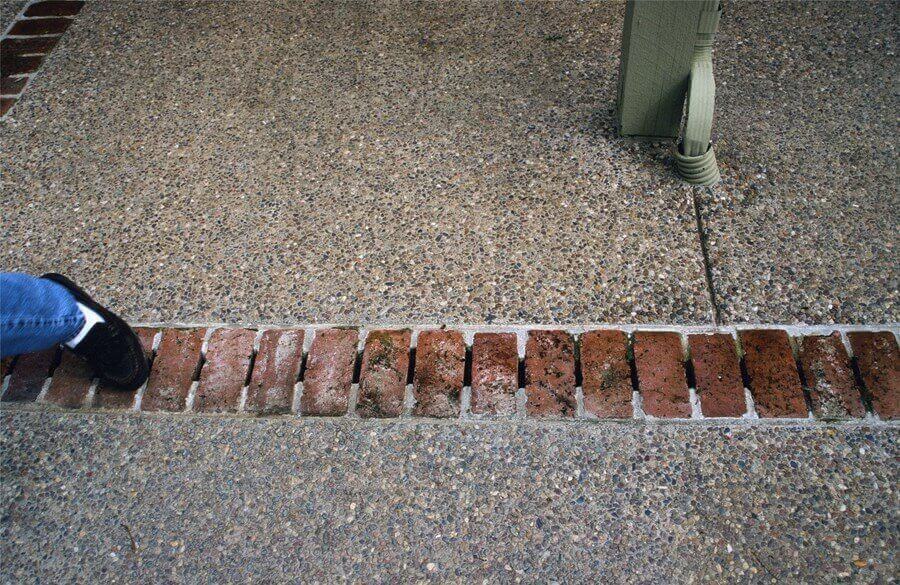
You can’t build your driveway on spongy material as mentioned above or you’ll end up with a mud pit, but you should know that you can take advantage of ground reinforcement grid material that supports your gravel and provides for incredible drainage all in one intelligent system.
Make drainage a priority and you’ll eliminate a bunch of your potential headaches before they ever have an opportunity to come to fruition.
Box in gravel driveways
It’s likely that you have seen gravel driveways that just seem as though they sprawl about the land with no real rhyme or reason, and it’s just as likely that you’ve noticed these driveways to be in terrible condition even just a few months after they were laid down.
Gravel that has the opportunity to spread and sprawl, rather than gravel that is “locked into place” and tightly compacted while still providing for drainage, is going to provide you with nothing more than a stretch of soft earth covered in rocks as opposed to an intelligently designed gravel driveway that works the way you hoped it would.
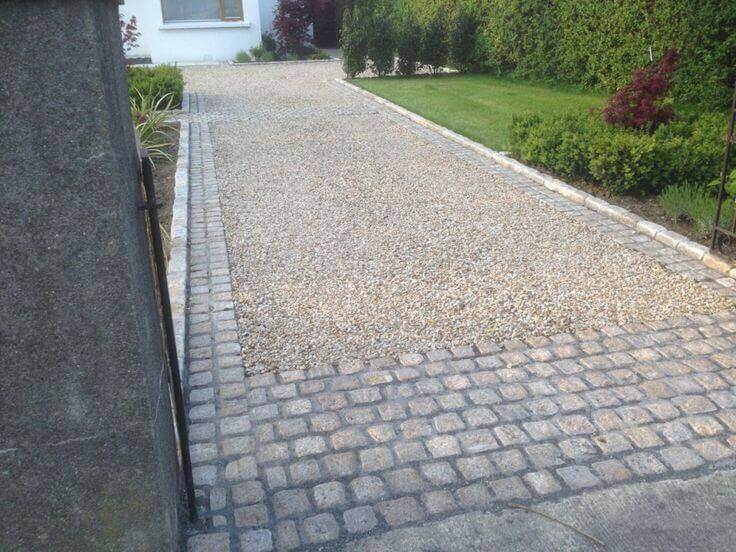
Boxing your gravel driveway using grid reinforcement materials and you won’t have to worry about your gravel disappearing from underneath your vehicles, and you won’t have to worry about having to “top off” your gravel driveway every couple of years with new rocks new material because the old material continues to spread all over your property.
At the end of the day, as long as you focus on these core elements – while making sure that the base layers you have underneath your gravel are perfectly compacted while allowing for tremendous drainage – you shouldn’t have much to worry about.
Laying down a gravel driveway becomes a lot easier when you choose the right materials to assist you, and as long as you avoid the common pitfalls and mistakes we have highlighted above you should be in really great shape – even if you haven’t ever built gravel driveways before!
Author Bio
About Fergus @MatsGrids
MatsGrids are suppliers of Ground reinforcement systems, grass reinforcement and protection mesh for domestic and commercial landscaping projects. Our business mission is to become the UK’s leading supplier of groundworks, civils and landscaping products. Over the last few years, our company has grown to become one of the UK’s most reputable suppliers to these sectors and today we supply our range of products to thousands of businesses and end users within the UK and overseas


A gravel stabilizer grid, also known as a ground grid or geocell, is an effective measure for preventing both erosion and puddles from forming on surfaces with loose aggregate. Gravel grids are made out of sturdy material that can securely hold the gravel in place and prevent any ruts from forming over time.
A gravel stabilizing grid is of utmost importance to the strength of a gravel driveway. Without it, I don’t think the gravel will hold in the shape we want.